Plan it
Board cut schedule
Every panel you'll need to cut, sized to actual milled lumber dimensions. Print this page or download the PDF to take into your workshop.
| Panel | Dimensions | Qty | Notes |
|---|---|---|---|
| Front | 9.25″ × 16″ | 1 | Drill 3" hole centered 12" from the bottom; score horizontal lines on the interior below the hole to help owlets climb. |
| Back | 9.25″ × 24″ | 1 | Extends above and below the main box to provide easy mounting flanges for the tree or post. |
| Side | 9.25″ × 16″ | 2 | Angle the top edge from 16" at the back to 14" at the front to shed water. One side should be hinged for cleaning. |
| Roof | 9.25″ × 12″ | 1 | Provides a 2-3" overhang at the front to keep rain out of the entrance hole. |
| Floor | 7.75″ × 7.75″ | 1 | Sized to fit inside the walls; clip 1/2" off all four corners for drainage and recess up 1/4" from bottom. |
Source board layout
All panels are cut from the 9.25" wide 1x10 board. The floor is ripped down to 7.75" to fit between the two 0.75" thick side walls. The extra length on the back panel allows for easy installation using lag bolts.
Get materials
Shopping checklist
Check off items as you gather them — your progress is saved in your browser so you can come back to this page anytime.
Build it
Construction notes
- Wood: 3/4-inch (19 mm) untreated cedar or redwood for maximum longevity. Pine is acceptable if painted on the exterior only.
- Boards: A single 1" x 10" x 8' untreated cedar board provides enough material for all panels and the floor.
- Hardware: 25x 1-5/8" galvanized deck screws, 2x 2" exterior-grade hinges, 1x brass shutter latch or heavy-duty hook and eye, 2x 3" stainless steel lag bolts with washers, 2-3 inches of kiln-dried pine shavings
- Ventilation: Leave a 1/4-inch gap between the top of the side panels and the roof to allow for cross-ventilation and heat escape.
- Drainage: In addition to clipping the floor corners, drill four 3/8-inch holes in the floor panel to ensure the nest stays dry.
- Predator guard: Install a 24-inch wide stovepipe or sheet metal cone baffle on the trunk or post below the box. This prevents raccoons and snakes from climbing to the entrance.
Install it
Place it & time it right
Mount on a mature hardwood tree or a dedicated 4x4 post near the edge of a wooded area. Ensure there is a clear flight path to the entrance hole, free of small obstructing branches. Avoid placing near high-traffic areas or loud outdoor equipment like AC units.
Seasonal timeline
When to install
Install by late December or early January in the South; by February in the North, as they begin scouting sites early.
Nesting begins
In the Southeast, nesting can begin as early as February. In the Midwest and Northeast, it typically starts in March or April. Western populations follow a similar spring schedule based on elevation and local temperatures.
Eggs & incubation
2-6 eggs (usually 3-4) · 26-31 days
Fledging & cleaning
27-30 days after hatching · Clean the box once a year in late summer after the young have dispersed. Replace the pine shavings with a fresh 2-3 inch layer for the winter, as owls may use it for roosting.
Regional considerations
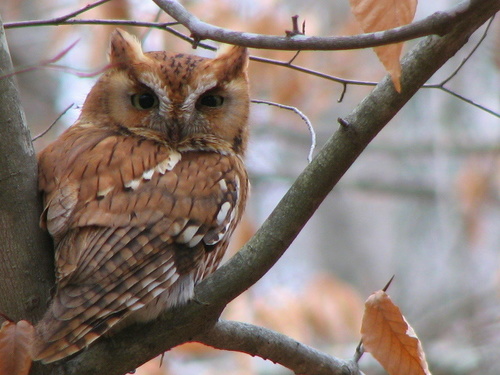
The Eastern Screech-Owl is found throughout the eastern half of North America, from the Atlantic coast to the Rocky Mountains, and from southern Canada to northeastern Mexico.
Nesting begins earlier in lower latitudes with warmer climates. In northern regions or higher elevations, breeding may be delayed by several weeks until consistent prey (large insects and small rodents) becomes active.
Raccoons and larger owls (like Great Horned Owls) are the primary threats. The deep box design and a baffle protect against climbing predators, while proper placement prevents larger raptors from easy access.
Add a camera
Watch it happen
When monitoring Eastern Screech-Owls, the camera must be placed at the very top of the box, ideally tucked into the corner of the ceiling. Because these owls are highly sensitive to light, you must use a camera with high-quality infrared (IR) night vision that does not emit a visible red glow. A wide-angle lens is essential to capture the entire floor area from such a short distance.
For the best view of the hatchlings and the parents' behavior, a top-down angle is superior to a side mount. Since the box is deep, a side-mounted camera often gets obscured by the adult owl's body during feeding. Cable routing should be handled carefully; drill a small hole just under the roof and use a cable gland or silicone sealant to keep moisture and insects out.
Because these boxes are often high in trees, a Wi-Fi-enabled interior camera like a modified Wyze or a specialized bird box camera with a long power lead is recommended. If your Wi-Fi signal is weak, consider an outdoor-rated battery camera like a Blink mounted on a nearby branch looking at the entrance, though this won't show the interior nesting activity.
Off-grid power with a USB solar panel
Nest boxes are almost always far from a power outlet. A 5V USB solar panel with a built-in battery is the cleanest solution — it powers most interior USB cameras, Blink cameras (via their USB port), and many trail cameras indefinitely.
- Panel position: Mount on the same post as the box, 1–2 ft above, angled 30–45° from vertical and facing south.
- Cable routing: Run inside split loom or 1/2″ conduit so squirrels can't chew it. Enter through the same grommeted hole as the camera cable.
- Battery buffer: Pick a panel with a 5–10 Ah battery so the camera runs through cloudy days and overnight for nocturnal species.
- Weatherproofing: Wrap every cable connection in self-amalgamating rubber tape.
See it in action
Real Eastern Screech-Owl in nest boxes
Hand-picked moments from the EverydayEarth community showing what your finished nest box could capture.
 Featured
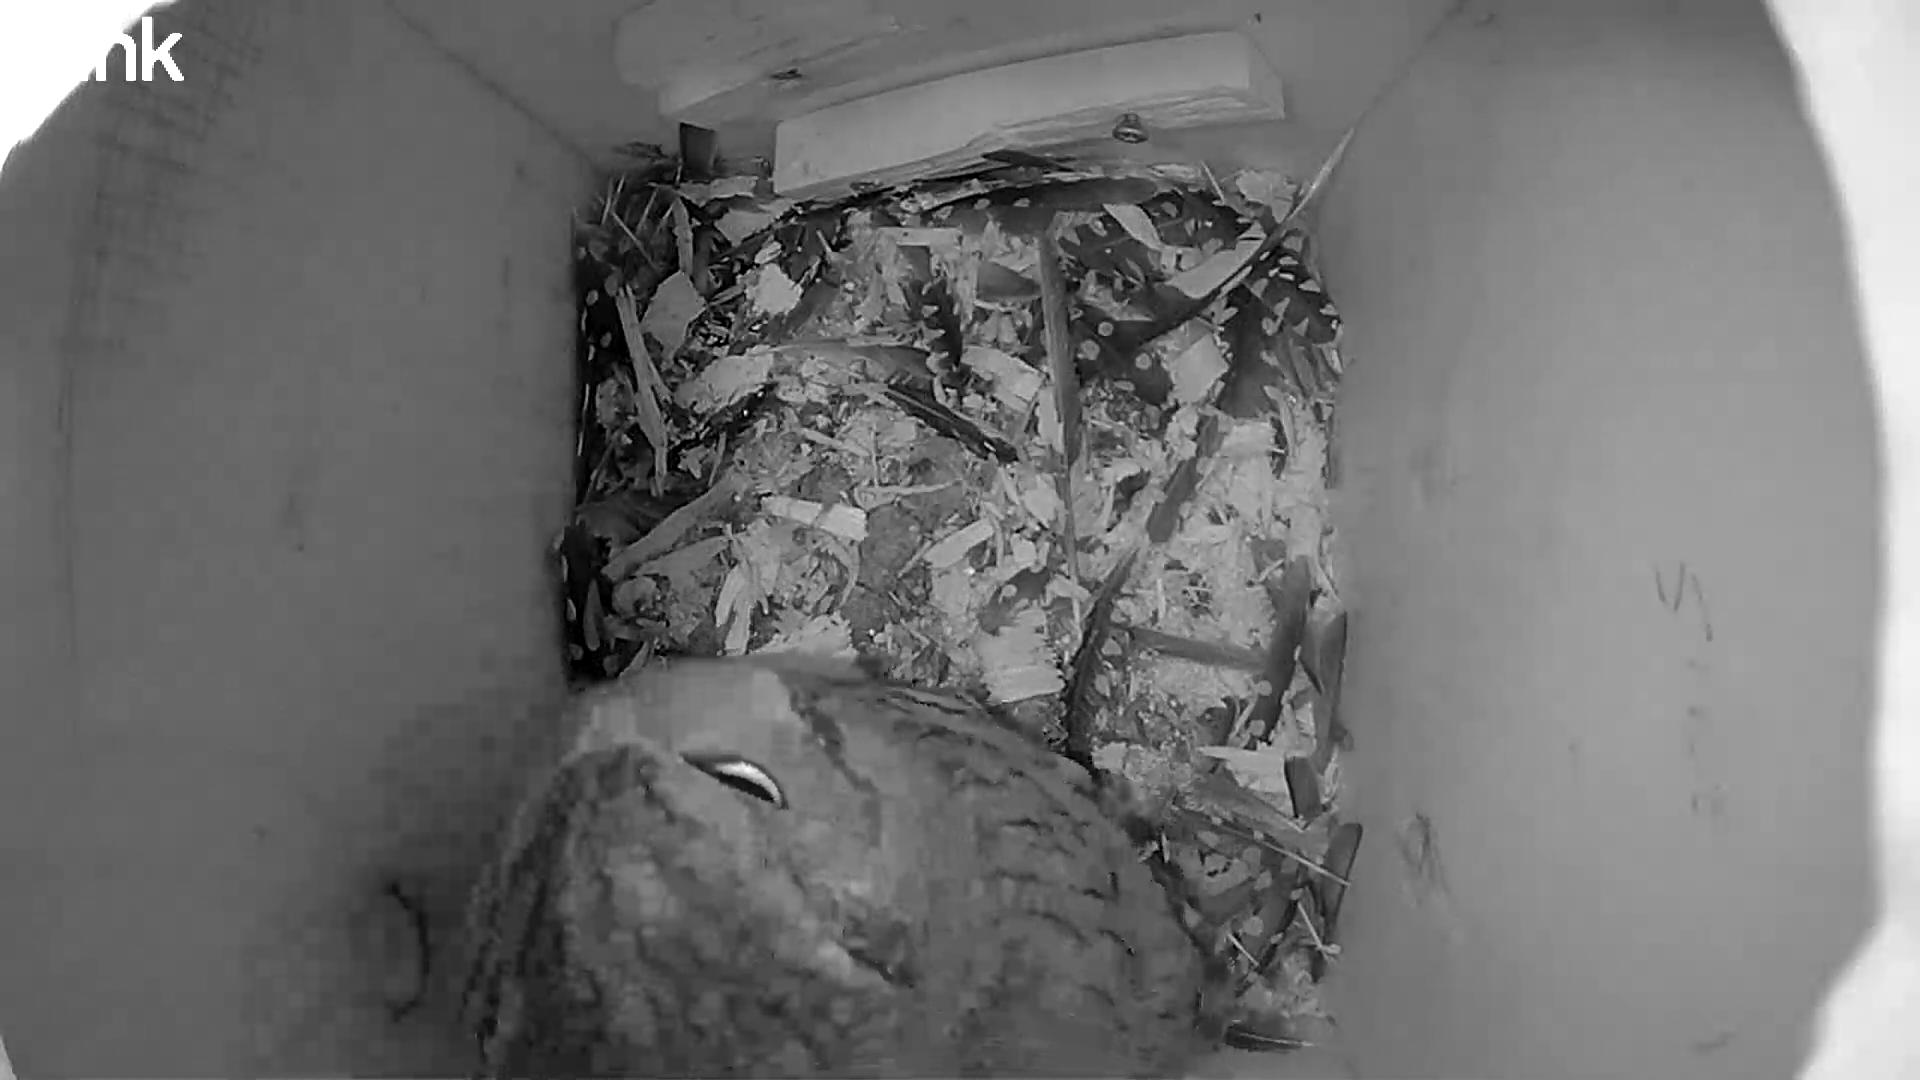
Squirrel Nesting Box · Novi, Michigan
Feb 23, 2026
An Eastern Screech Owl is resting inside a wooden nest box. Throughout the video, it shifts its weight, adjusts its position on the substrate of wood shavings and feathers, and occasionally looks upward toward the entrance hole.
 Featured
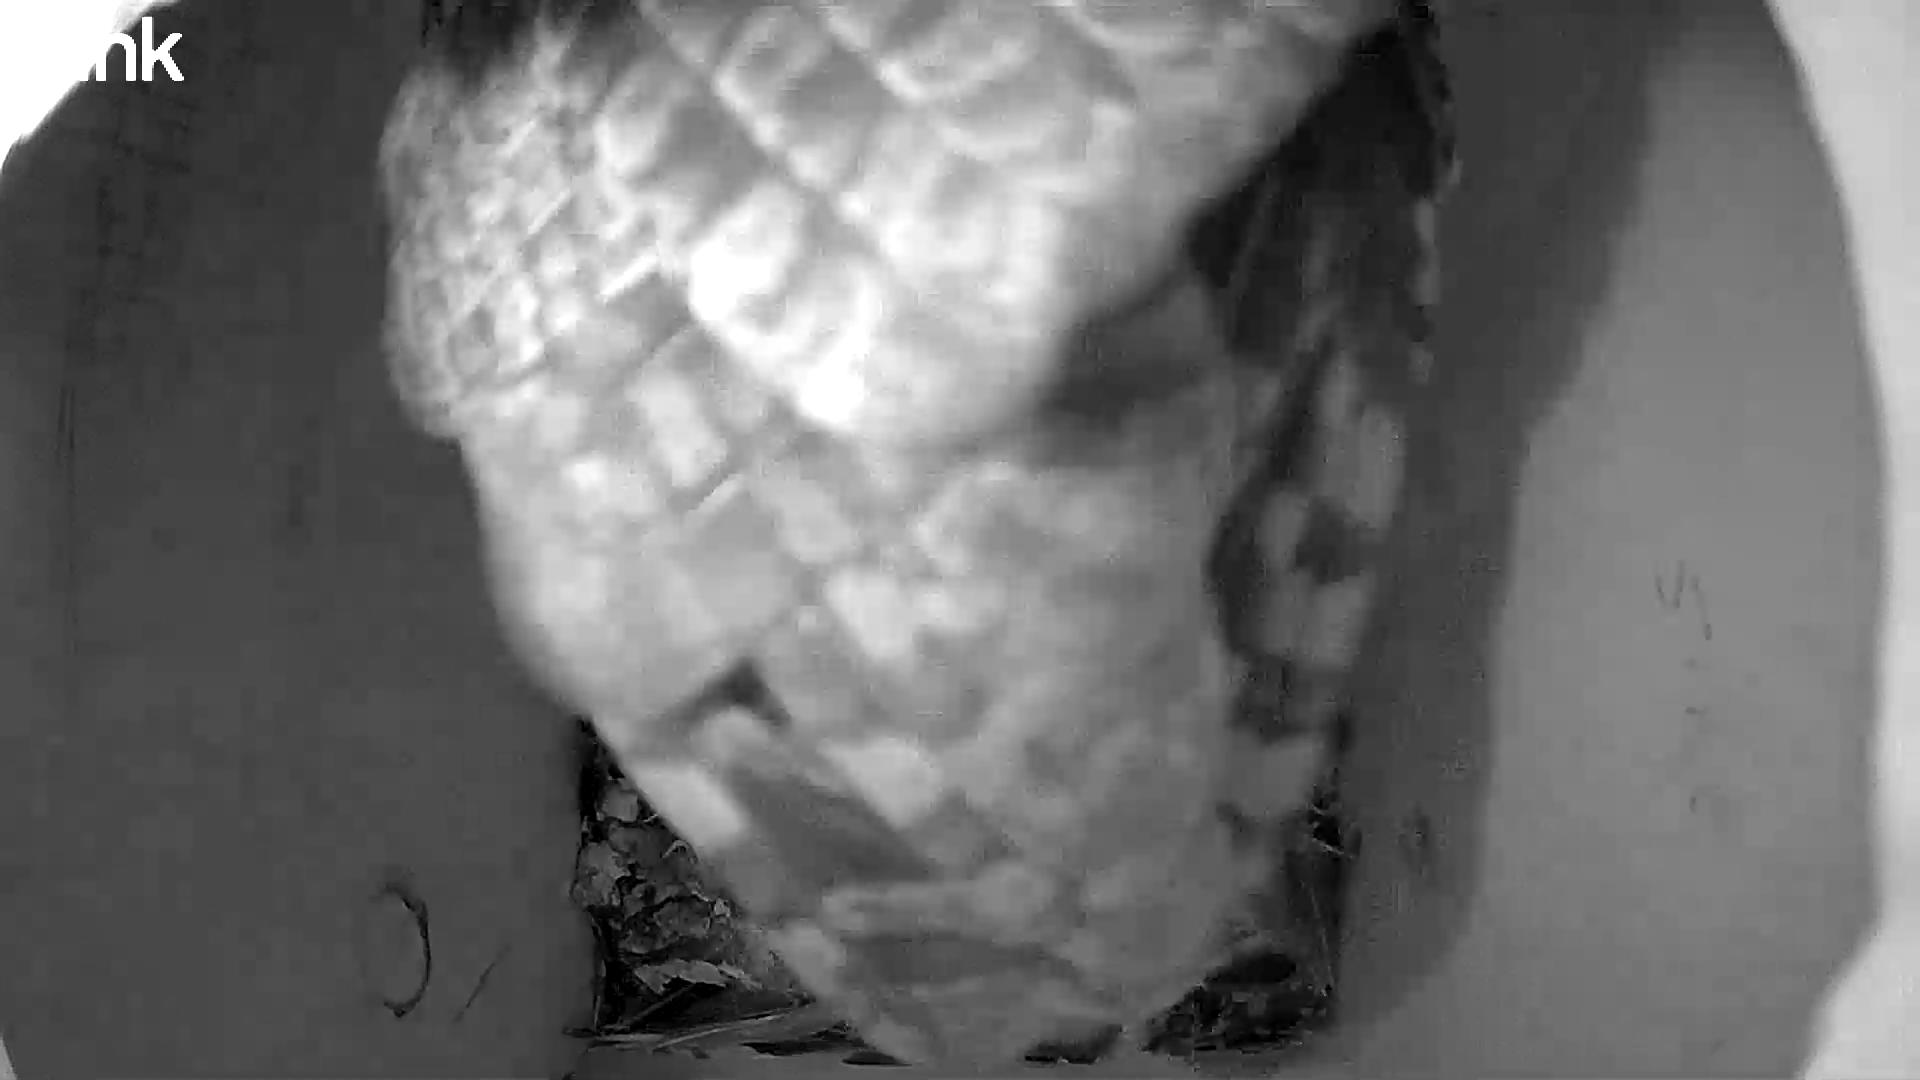
Squirrel Nesting Box · Novi, Michigan
Feb 23, 2026
An Eastern Screech-Owl is captured exiting the nest box. It moves from the substrate at the bottom of the frame toward the top opening and has completely departed the box by the two-second mark.
Troubleshoot
Common problems & solutions
European Starlings taking over
Monitor the box closely in March; remove starling nests immediately and repeatedly. Starlings are persistent but will eventually give up if the box is checked frequently.
Grey Squirrels nesting inside
Squirrels find owl boxes very attractive. If squirrels move in, you may need to mount the box on a pole with a high-quality baffle, as they are harder to deter on trees.
Owls won't use the box
Ensure you have provided 2-3 inches of wood shavings. Screech-owls do not bring their own nesting material and will rarely use a bare wooden floor.
Bees or wasps in the box
Check the box in early spring. If a colony begins, wait for a cool morning to remove the small start of a nest, or rub unscented soap on the ceiling to discourage them.
Common questions
Frequently asked questions
An Eastern Screech-Owl box requires a 3-inch (76 mm) diameter entrance hole. This size is large enough for the owl to enter comfortably but small enough to exclude larger predators like Great Horned Owls.
Mount the box between 10 and 20 feet high. This height provides the owls with a sense of security and a clear flight path while remaining accessible for occasional maintenance with a ladder.
The best time is late autumn or early winter. This allows the owls to find the box and use it for winter roosting before the spring nesting season begins.
The box should face East or South to capture early morning warmth while remaining sheltered from the prevailing north/west winds and the intense heat of the afternoon sun.
Since starlings use the same 3-inch hole, the best defense is location and monitoring. Placing the box in more shaded, wooded areas rather than open lawns can help, but manual removal of starling nests is often necessary.
They typically raise only one brood per year. If a nest fails very early in the season, they may occasionally attempt a second clutch, but this is rare.
Clean the box in late summer after you are certain the fledglings have moved on. Always wear a mask when cleaning to avoid inhaling dust from old prey remains or droppings.
Take it with you
Download free PDF plans
Get a printable PDF with materials list, dimensions, assembly notes, and a QR code back to this page. We'll send occasional updates on new plans and habitat tips — unsubscribe anytime.
Prefer not to share your email? View materials online — everything is free and visible on this page.